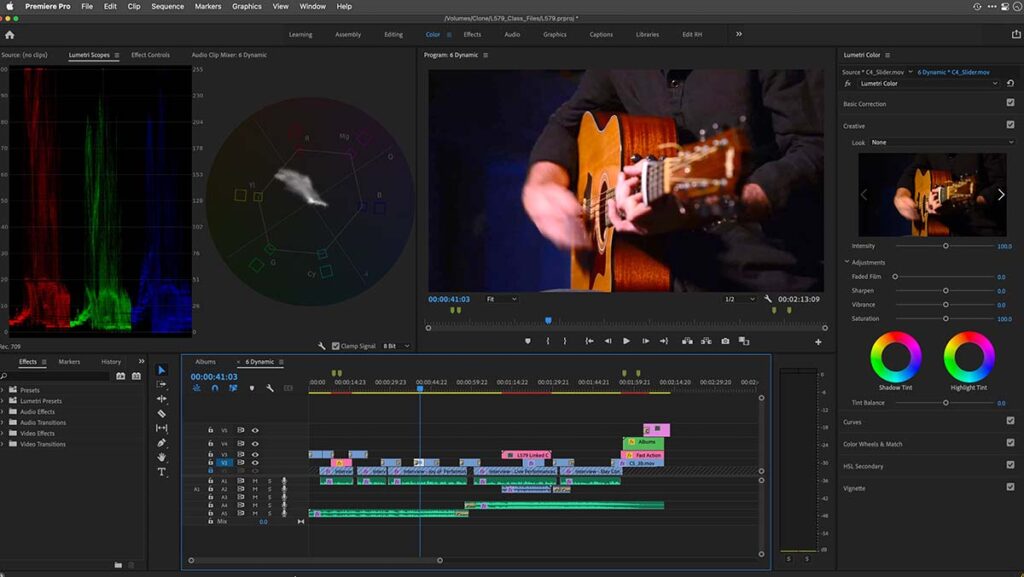
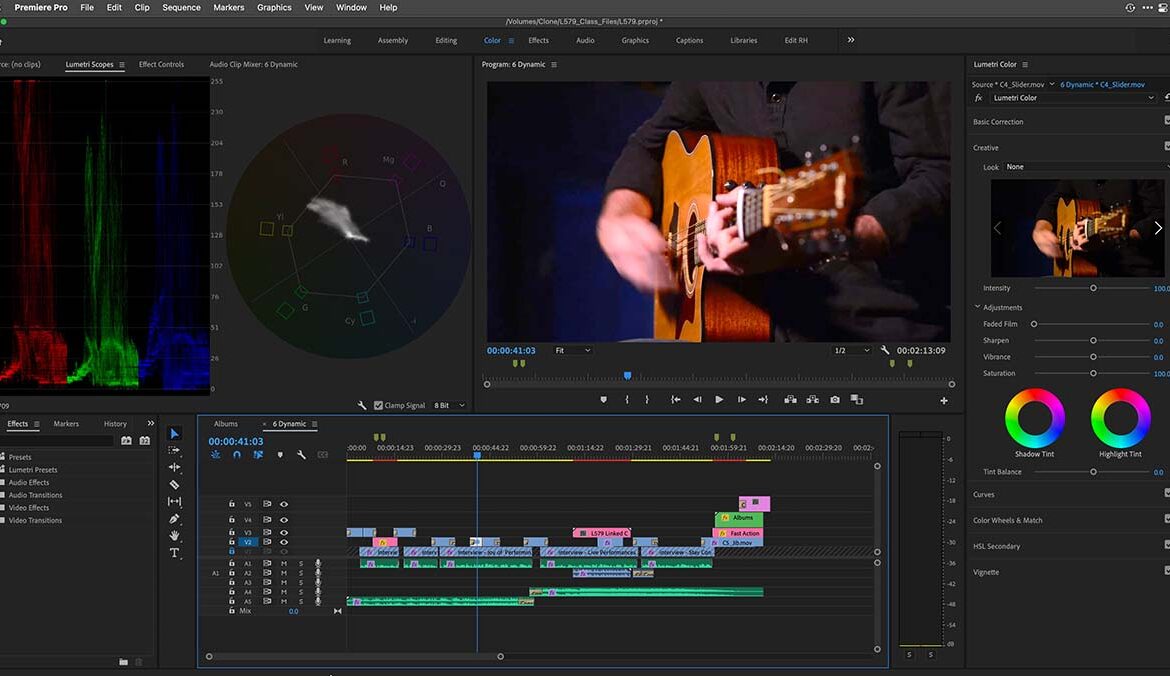
5 Hidden Features in Adobe Premiere Pro You Need To Know

Photo Credits – https://www.adobe.com/products/premiere.html
If you’re just starting your career in video editing, you’ll find yourself manually looking for files, cutting clips, and creating special effects, all the while you’ll wonder how the professionals do it so quickly. It’s because they learned about the hidden features of their editing software. If you want to get onto the video editing scene, you’ll need to keep up to date with your software updates. That means watching out for any patch notes, learning about the features they advertise for those updates, and keeping an eye on tutorials that explain these new features. Of course, that can be time-consuming. So, we’ll show you what some of those features are. And since we work with Adobe Premiere Pro, we’ll show you the 5 hidden features we’ve found so you can use them too.
1. Project Manager
If you’re working on a project that requires more than one editor, you’ll find that there will be files scattered around on the hard drive. So, how do you manage? What can you do to keep your files online, even if you transfer them from one computer to another? The Project Manager tool will help. It’s a nifty tool that will help organize and back up all your files and assets in Premiere Pro. Not only that, but it can also convert and transcode your files to save on storage space if you have particularly large files.
So, for example, if you have a client, who has a lot of large raw footage that requires a lot of disk space, you can choose to “consolidate and transcode” the files. By doing so, you won’t be duplicating the original files, which will take up more disk space. Not to mention, if you choose to archive the project and use it again in the future, you won’t have to deal with the “Media Offline” message. All the files will still be accessible to you, no matter how long ago they were created.

We Can Help You With Professional Video Editing.
Unlimited Revisions – Whatever changes are needed, send them through and we will Fix them.
Fast Turnaround Time – We are always available to meet the tightest of deadlines when necessary.
Risk-Free Trial – Send your first video editing project to us and if you are not 100% happy with the results we produce, you don’t pay!
2. Audio Track Keyframes
As video editors, you should know what keyframes are. They’re the points in a clip that you use to mark where your animation, special effects, and movements start and end. Well, you can also use keyframes for your audio. In the past, you’d need to use the “Effect Control” panel, where you would create and adjust keyframes manually. However, with the latest updates for Premiere Pro, you can now do this directly onto the audio track in the timeline.
This will allow you to work on the waveform itself. So, you can see where you need to edit the audio. You no longer have to guess where to put the keyframe because it’ll sit directly on top of the track, in the timeline, and you’ll be able to control the volume as much as you need to without having to consult the “Audio Mixer” panel. Of course, you’d need to use the panel for other audio effects, but this feature is very convenient if you’re creating a simple volume change.
3. Photoshop Snap/Ruler/Guides/Margins
If you’ve got a text, animation, or other types of special effects that you need to add on top of a clip, you may find it challenging to find the right position for them. After all, Premiere Pro doesn’t employ a ruler or a snipping tool, right? Wrong! Hidden in the corner of the “Program Monitor” panel is a plus (+) sign, and if you click on it, you’ll find loads of hidden features that aren’t added to your initial start-up menu.
There, you’ll find the “Margins”, “Ruler”, “Guide”, and “Snap” tools that work for every other Adobe product on the market, including Photoshop. So, no more squinting your eyes and tiny mouse movements or arrow clicks to get your text or effects layer in the perfect position. Instead, you can use these guide tools to snap that layer into place without needing to be careful with your mouse!
4. Create A Full-Screen Shortcut
Sometimes, while you’re editing your video, you’ll want to see a full-screen version of the project you’re working on. While double-tapping the “Program Monitor” can do the job, there’s a better way to do it. This is by creating a shortcut for a “Full Screen” view. You simply need to go to “Edit”, find the “Keyboard Shortcuts” option, and create a shortcut to “Toggle Full Screen”. Once you have that set, you can easily go back and forth, between your standard edit view, to a full-screen version of the project you’re working on.
This is a very handy tool, especially if you’re working on an edit that requires colour correction or trying to line up a mask to a specific key point. Or sometimes, your director/producer or client is in the room, and they’d like to see what you’ve done so far. Instead of forcing them to watch on a tiny “Program Monitor” panel, you can pull up the full-screen version of the video, and they can watch it uninterrupted.
5. Easy Label Colours
When you’re working on a long project, with lots of different clips, in lots of folders, it can be confusing which clips you’ve added to your timeline. Not to mention, Premiere Pro, by default, turns all label colors into blue or pink, depending on where on the timeline your clip is or how you added it into the timeline. Don’t worry. You can easily bypass this by creating your own labels for each type of clip you use.
The trick is to go into “File”, hit “Project Settings”, and tick the box that says, “Display the project item name and label color for all instances”. This will then allow you to manually change the label colors of your files in your “Project” panel, where all your files and folders are located. Simply right-click the clips you want to change the label colors for, et voila! Now you can tell which clips you’ve used and in which folder they are. It’s as easy as that! So, you don’t have to scroll through your timeline to find the clips you’re working on. You can find it with the color of its label.
Related Articles:
How To Edit A Music Video Like A Pro


